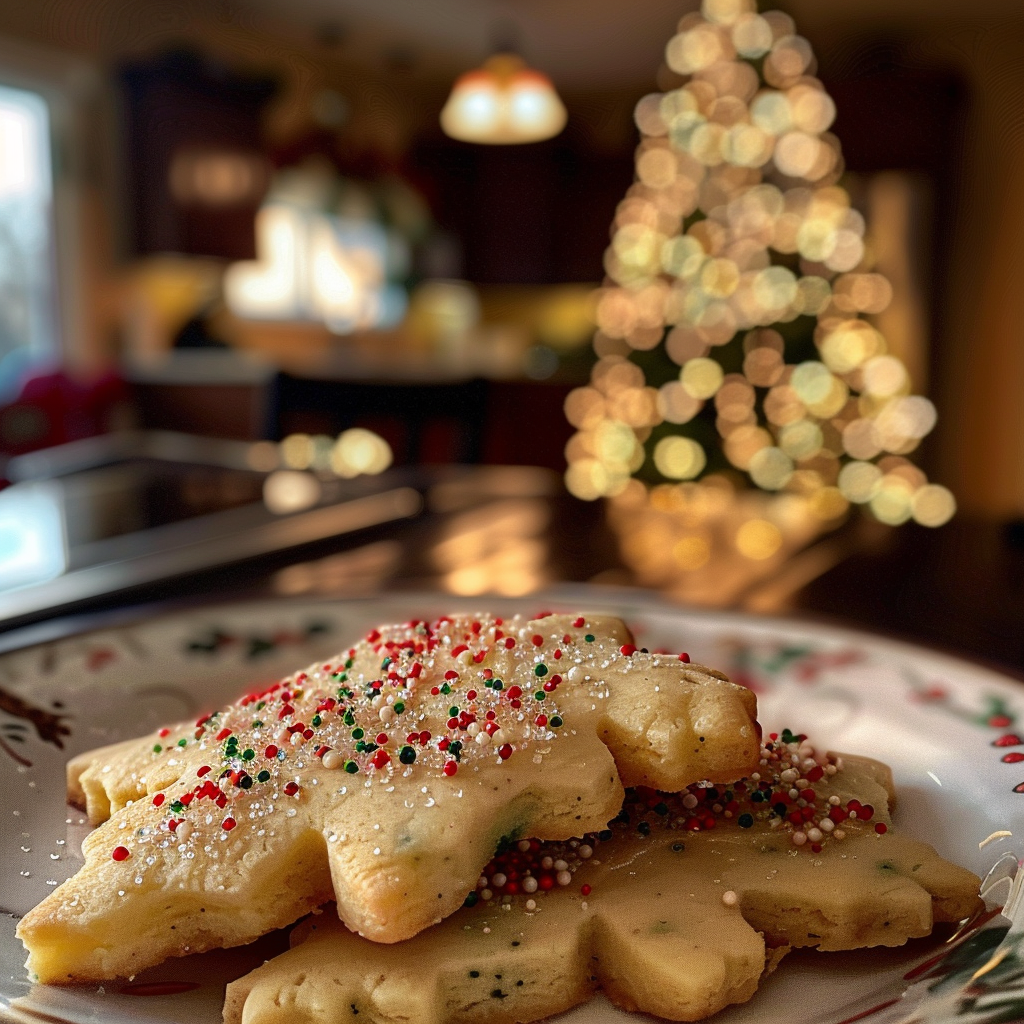
The aroma of freshly baked cookies wafts through the air, inviting you to indulge in a world of sugary delight. Imagine biting into a soft, sweet cookie shaped like a Christmas tree, adorned with colorful sprinkles—a treat that embodies the spirit of the holiday season. Delightful Christmas Tree Cookies for Festive Cheer are not just desserts; they are edible decorations that bring joy and laughter to your gatherings. For more inspiration, check out this delicious dessert recipes recipe.

Jump to:
- <strong>Essential Ingredients</strong>
- <strong>Let’s Make it Together</strong>
- <strong>Perfecting the Cooking Process</strong>
- <strong>Add Your Touch</strong>
- <strong>Storing & Reheating</strong>
- <strong>FAQ</strong>
- What can I substitute if I don’t have cookie cutters?
- Can I use gluten-free flour for these cookies?
- How do I make my icing thicker?
Picture yourself surrounded by family and friends, each taking a bite and grinning from ear to ear as they enjoy these festive treats. These cookies aren’t just about flavor; they hold memories of laughter, love, and the magic of Christmas. So gather your loved ones, roll up your sleeves, and let’s create some delightful memories together!
Why You'll Love This Recipe
- These cookies are incredibly easy to make, ensuring everyone can join in on the fun
- The flavor is a perfect blend of sweet vanilla with a hint of almond
- Their vibrant colors and unique tree shapes will make your dessert table pop!
- Ideal for holiday parties or cozy family gatherings, they’re versatile enough to customize for any occasion
Every holiday season, my kitchen transforms into a winter wonderland filled with laughter and the sounds of cookie crunching. I remember one year when my niece decorated her cookie with so many sprinkles that it looked more like a disco ball than a Christmas tree!
Essential Ingredients
Here’s what you’ll need to make this delicious dish:
- All-Purpose Flour: This provides the base for our cookies; ensure it’s sifted to avoid clumps.
- Granulated Sugar: Sweetens the dough beautifully; feel free to adjust based on your sweetness preference.
- Butter: Use unsalted butter for better control over salt levels; make sure it’s softened for easy mixing.
- Eggs: One large egg helps bind everything together; room temperature eggs work best.
- Baking Powder: This ensures your cookies rise perfectly while keeping them light and fluffy. For more inspiration, check out this cake recipes for holidays recipe.
- Vanilla Extract: Adds rich flavor; opt for pure vanilla extract if possible for the best taste.
- Almond Extract: A dash gives these cookies an extra layer of flavor that complements vanilla beautifully.
- Sprinkles or Icing: Use colorful sprinkles or icing to decorate your trees and make them festive!
The full ingredients list, including measurements, is provided in the recipe card directly below.
Let’s Make it Together
Start by gathering all your ingredients—this makes life a lot easier!
Mixing the Dough: In a large bowl, cream together softened butter and sugar until fluffy and light in color. This usually takes about 3-5 minutes. The mixture should smell buttery and sweet.
Add Eggs and Extracts: Beat in the egg along with vanilla and almond extracts until well combined. The batter will become smooth with a delightful aroma wafting through your kitchen.
Sift Dry Ingredients Together: In another bowl, whisk together flour and baking powder. Gradually add this dry mixture into your wet ingredients while mixing slowly to avoid flour clouds.
Chill Dough**: Wrap the dough in plastic wrap and refrigerate for at least one hour. Chilling helps prevent spreading during baking—plus it gives you time to sip some hot cocoa!
Shape Your Trees**: Once chilled, preheat your oven to 350°F (175°C). Roll out the dough on a floured surface until about 1/4 inch thick. Use tree-shaped cookie cutters for festive fun!
Bake Cookies**: Place cut-out cookies on parchment-lined baking sheets. Bake for 8-10 minutes or until edges turn slightly golden but centers remain soft—a true test of patience!
After cooling completely, unleash your inner artist by decorating each cookie with icing or sprinkles! Display them proudly on platters until it’s time to dig in.
These Delightful Christmas Tree Cookies for Festive Cheer will surely become a cherished tradition in your home! As you share them with loved ones, remember that every bite carries not just sweetness but heartfelt connections made during the holiday season.
You Must Know
- Delightful Christmas Tree Cookies for Festive Cheer will light up your holiday season
- The sprinkles, sweet aroma, and vibrant colors make them a festive favorite for all ages
- Baking these cookies can create lasting memories while brightening up any gathering with joy and cheer
Perfecting the Cooking Process
To achieve the perfect batch of Delightful Christmas Tree Cookies for Festive Cheer, follow this sequence: prepare dough, chill it, roll it out, cut shapes, bake at 350°F for about 10-12 minutes until golden.
Add Your Touch
Consider swapping almond extract for vanilla or adding crushed peppermint candies to the icing. Get creative by using colored icing or edible glitter to make your cookies even more festive and unique.
Storing & Reheating
Store your cookies in an airtight container at room temperature for up to a week. If you want to freeze them, wrap each one individually and place them in a freezer bag for up to three months.
Chef's Helpful Tips
- To enhance your Delightful Christmas Tree Cookies for Festive Cheer, use high-quality butter for richness
- Let the dough chill properly to ensure easier rolling and shaping
- Experiment with different sprinkles or toppings to make each batch special and visually appealing
Baking these cookies always brings back memories of my grandma’s kitchen filled with laughter and delicious smells. Watching my kids decorate them now is pure joy, making me realize how traditions carry on through generations.
FAQ
What can I substitute if I don’t have cookie cutters?
Use a glass or any round object to create fun shapes instead.
Can I use gluten-free flour for these cookies?
Yes, gluten-free flour works well; just ensure it’s a good quality blend.
How do I make my icing thicker?
Add powdered sugar gradually until you reach your desired consistency for perfect decorating.